Accept payments in a form with Razorpay, PayU, Paytm or BillDesk
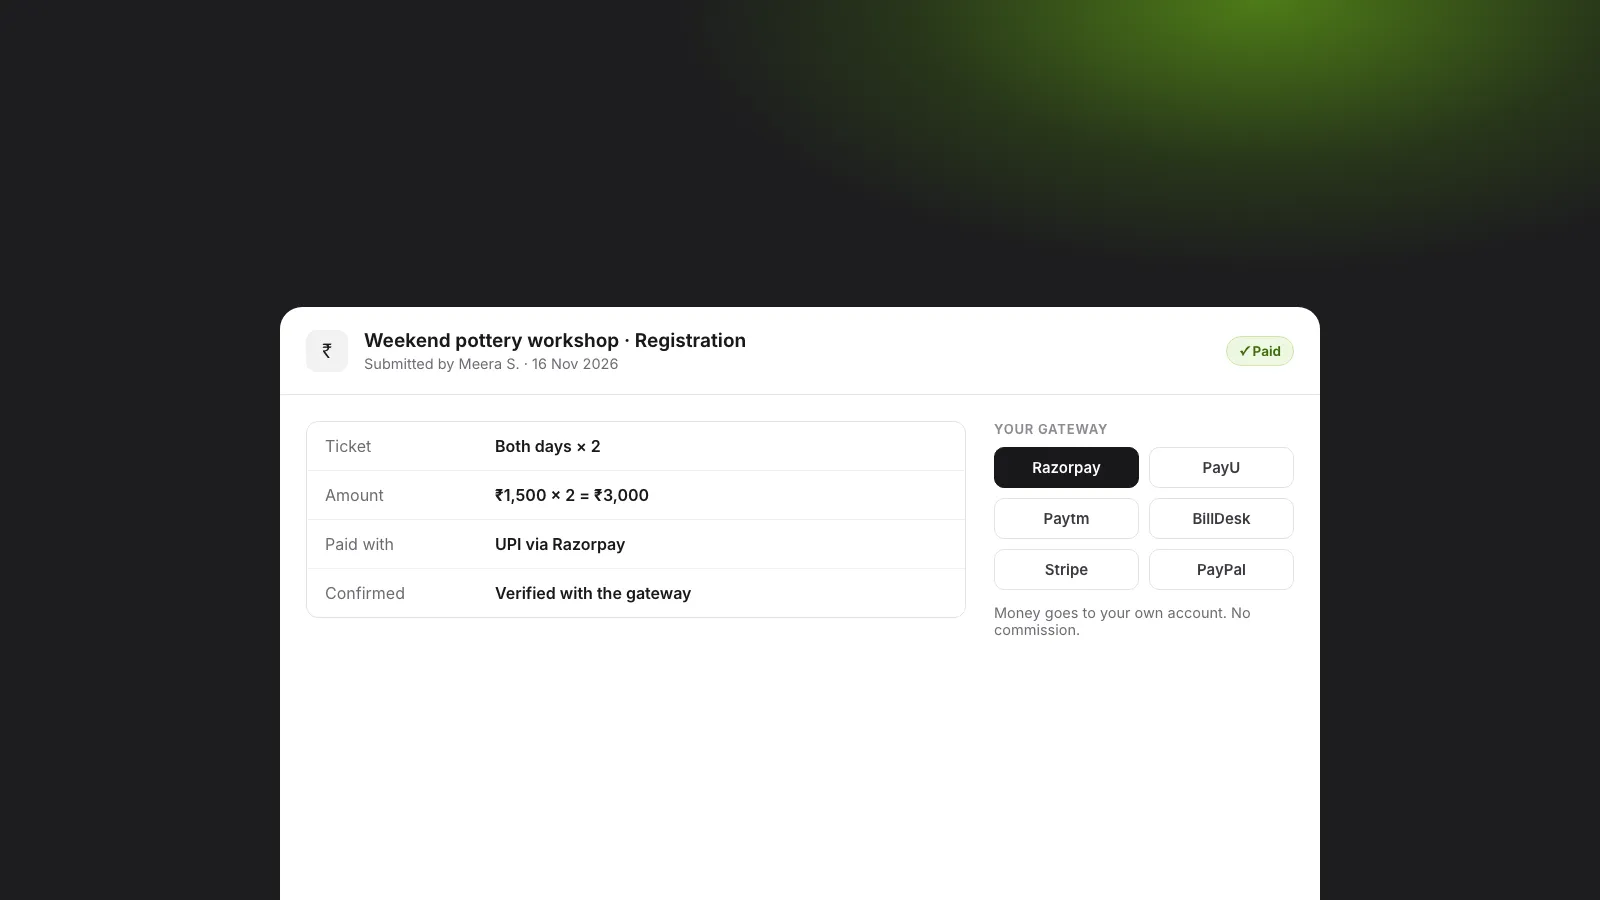
Collect registration fees, application fees and orders in the form itself, through your own Razorpay, PayU, Paytm, BillDesk, Stripe or PayPal account.
The KyraForm team 3 min read
Registration fees, application fees, workshop seats, donations, deposits: a lot of forms end with someone paying. The usual way is two tools. People fill in the form, then you send them a payment link, then someone matches payments to responses in a spreadsheet and chases the ones who never paid.
Putting the payment inside the form removes that whole step. People answer and pay in one go, and every response shows whether it’s paid.
Which payment gateway should you use?
KyraForm connects to your own gateway account, so the money goes straight to you and KyraForm takes no commission. Pick the one you already have, or the one that suits your payers:
| Gateway | Best for | Currencies |
|---|---|---|
| Razorpay | Most Indian businesses: UPI, cards, net banking, wallets | INR, plus 19 others with International Payments switched on |
| PayU | Indian businesses already on PayU | INR |
| Paytm | Payers who use Paytm | INR |
| BillDesk | Banks, universities and institutions | INR |
| Stripe | International cards | INR, USD, EUR and 20 more |
| PayPal | International payers with PayPal | USD, EUR, GBP and others (not INR) |
If you’re starting from scratch in India, Razorpay is the quickest to set up. Colleges and institutions that already collect fees through BillDesk or PayU can keep using them.
Set it up in five steps
- Build the form, or start from the event registration or course registration template.
- Open Settings → Payment and turn on Enable Payment Collection.
- Choose when to collect: after filling the form (the amount can depend on the answers) or before filling the form (a fixed fee unlocks the form).
- Pick your gateway and currency, and paste the API keys from your gateway’s dashboard. Use test keys first and make a test payment.
- Set the amount, map the email and mobile questions so the gateway can pre-fill checkout and send receipts, and publish.
Three ways to set the amount
- Fixed. One price for everyone, such as a ₹500 registration fee.
- From a question. The person enters or picks the amount, such as a donation.
- Calculated. The amount depends on the answers, such as
tickets × 750, or a different fee per course or membership tier.
The amount is always recalculated on the server from the submitted answers, so nobody can change it in their browser, and a link can never set it.
What your payers see
They fill in the form and submit. The gateway’s checkout opens with the options your account supports: UPI, cards, net banking or wallets. After paying they see a payment status page and then your thank-you message. If they cancel or the payment fails, they can try again.
Every payment is confirmed with the gateway before the response is marked paid, and the form’s Payments tab shows the status of each one. Refunds are made in your gateway’s dashboard.
Common uses
- Event and workshop registration with ticket types and seat limits. See event registration forms.
- Application fees for jobs, admissions and competitions.
- Course and coaching fees, with a different amount per batch.
- Donations where the giver chooses the amount.
- Deposits for appointments and bookings.
A few tips
- Ask for the email and mobile number and map them, so receipts reach the payer.
- Say the amount before the payment step, for example in a summary line or the page description, so nobody is surprised at checkout.
- Turn on a response limit for seat-limited events, so you never sell more places than you have.
- Embedded forms open checkout in a new tab, because payment pages can’t load inside another website. That’s normal.
Payments are on the Pro plan and above. See payment forms for everything they can do, or the payments guide for each setting.